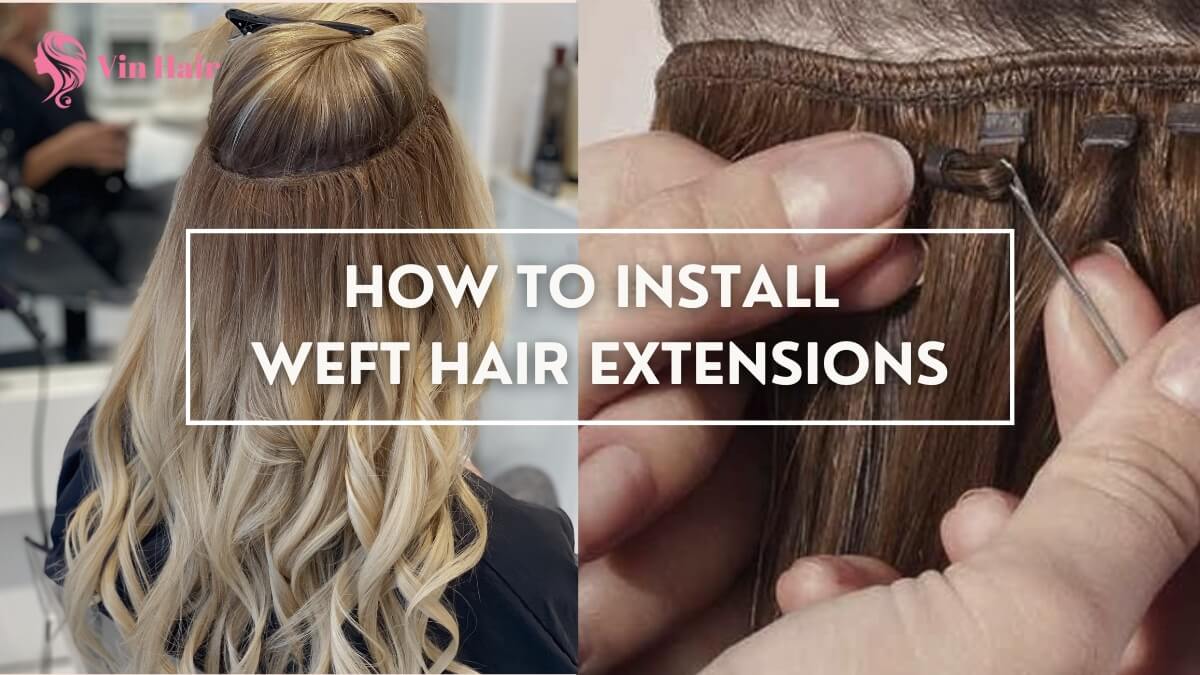
Not knowing how to install weft hair extensions? Follow Vin Hair’s professional styling guide to see what you should do for beautiful & long-lasting hair.
Weft hair extensions can enhance your appearance by providing more volume and length while showcasing your style. Whether you are a beginner in hair extensions or just want to perfect the method, this tutorial can help by showing you how to install weft hair extensions to achieve a flawless, natural look.
Contents
Weft hair extensions & their popularity
Weft hair extensions are sections of hair sewn or stitched at the top to create a strip or “weft” of hair. Wefts can be human hair or synthetic fibers used for adding volume, length, or color to natural hair.
Depending on how they are made, there are various types of weft hair extensions attached to natural hair:
- Machine wefts: These are sewn on a sewing machine, so the weft is much thicker and more solid, thus enabling them to be cut to size without falling apart. They find frequent applications in sew-in weaves and clip-in extensions.
- Hand-tied wefts: These are thinner and lighter because they’ve been hand-stitched, making them stretchier and therefore more natural in appearance. Frequently used for even more invisible, less bulky extensions, but they can’t be cut without the weft unraveling.
Weft hair extensions enable users to enjoy a long, voluminous hairstyle with style versatility and color plays without any permanent changes, so these products have been picked by the trend globally, majorly in cities with the fashion tendency, especially in the USA and African countries.
Types of weft hair extensions installment method
How to install weft hair extensions is also different because there are two main ways: One method is to use bead and thread, and the other method uses glue to keep weaves in place.
- Sewn-in weft extensions incorporate braiding the natural hair into cornrows and sewing the wefts of hair onto these braids with the use of a needle and thread. It’s the most popular hair extension method that brings a natural look.
- Glued weft hair extensions are applied by applying the bonding glue along the top edge of the weft and pressing it onto natural hair close to the scalp.
Things you need to do before installing hair
Well-prepare your equipment and getting ready for the installation is crucial to ensure a successful process in how to install weft hair extensions.
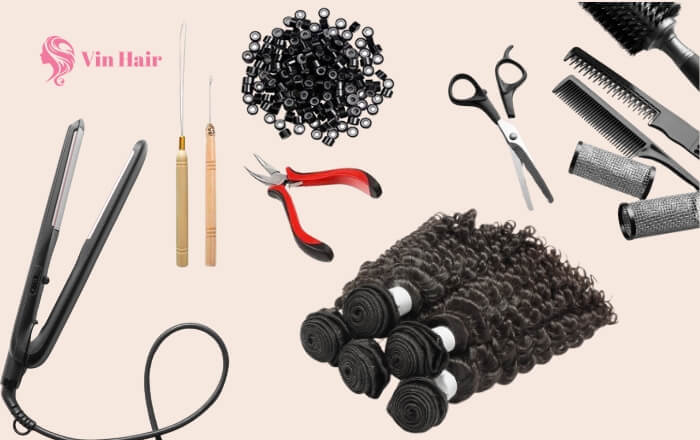
First, list down and take the tools or equipment that are necessary for the process. You might need:
- Bundles of weft hair extensions that suit the length and volume you want. If needed, the extensions will be trimmed to your desired length and style. You can style your hair normally in a gentle manner so as not to cause any damage to the wefts.
- A tool kit set, which includes tools that are needed for the installation. A rat-tail comb, hair clips, bonding, and thread with a needle for the sewn-in method or glue for the adhesive method are things you will need to use.
- Hair dryers and hair irons, these things are indispensable for almost everyone.
Secondly, all the tools and equipment must be clean and dry before applying the extensions. Your weft hair extensions will last longer since clean hair promotes better adhesion.
Thirdly, detangle the hair or any knots using a wide-tooth comb to make the application easier.
How to install weft hair extensions
It may seem very difficult to install weft hair extensions at first, but with the right tools and techniques applied, you will come up with a beautiful, natural look. You can follow these steps above to get a secure and long-lasting installation using the sewn-in, or adhesive installation method.
Sew-in weft hair extensions
For the sewn-in weft extensions method, the skill of hair stylists matters the most as how long the weft hair extensions are belongs all to how well the professional does.
Step 1: First of all, section your hair horizontally from ear to ear and clamp the top section out of the way.
- Use Clips and Hairspray: Secure the sections with clips and apply hairspray to keep all hairs in place. This is crucial as no adhesive is used in this method.
- Beaded Foundation: Start the beaded foundation in the middle of the section and work outwards. Experiment with wider sections for different beaded foundations to enhance comfort and effectiveness.

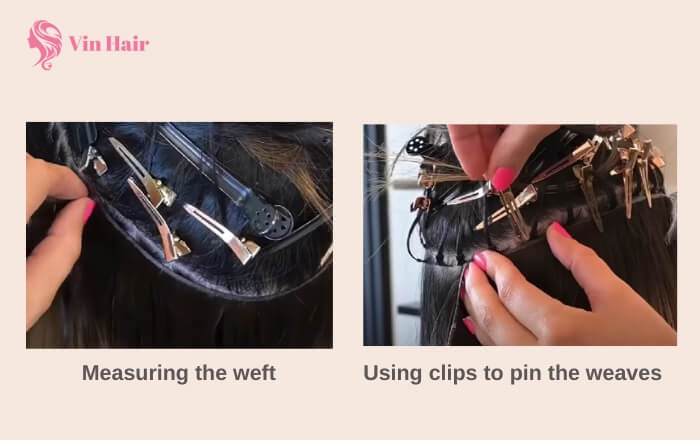
Step 2: Installing the weaves
- The next step, when the hair section is neat, measure the weave against the foundation, trim off the length (if needed), and keep the weaves in place by clips.
- After you finish one layer of hair, cut or fold the weave at the edges to prevent beads from popping out. Pin the weaves into place for additional security.
Step 3: Stitching hair
- Use single-thread stitching for a seamless look. Begin stitching from the middle, creating small knots for secure attachment.
- For a clean finish, fold the weave and pin it down, ensuring all attachment points are hidden, which means there will be two layers of weft, one is on the beads and the other layer is under the beads.

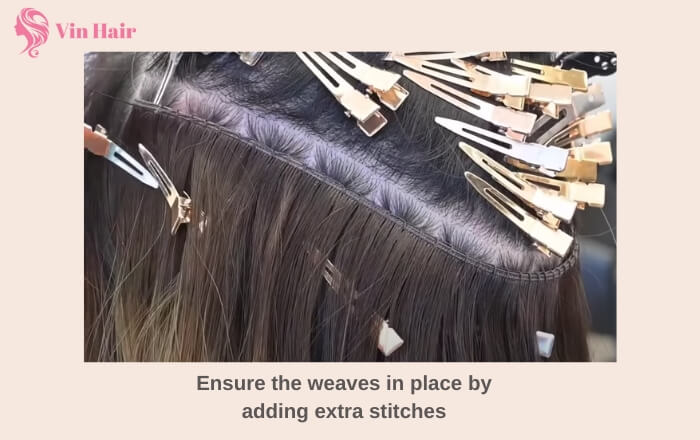
Step 4: Securing the weaves
- Lock down the corners of the weave with extra stitches to prevent lifting or flapping during wear.
- Ensure that stitches are uniform and close together to avoid ripple effects and maintain a flat appearance.
Step 5: Let down the next section of hair and repeat until you achieve the desired fullness.
Glue-in weft hair extension
Below are the instructions on “how to install weft hair extensions” that use glue:
Step 1: In the first step, segment the area you want to apply weft hair by horizontally parting your hair and then clamping the top section out of the way.

Step 2: Measure and cut the weft to fit in your part, then apply a thin line of bonding glue along the top edge of the weft.
Step 3: Starting from the roots, press the glued edge of the weft onto your natural hair, holding it next to your scalp for a few seconds.
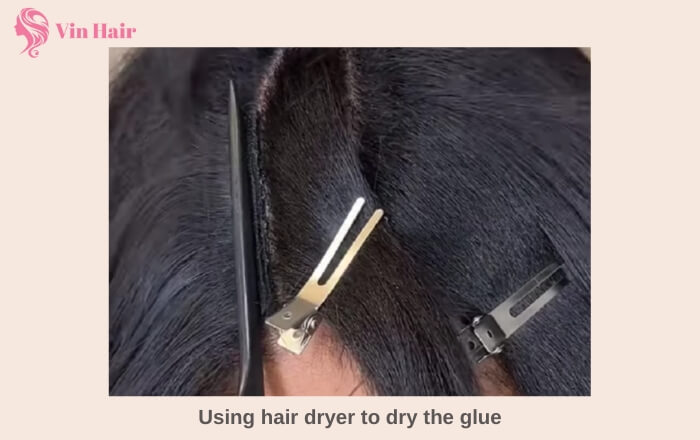
Step 4: Allow the glue to dry before releasing the next section of hair. You can use a hair dryer to dry your hair quicker and work through this process until all wefts are installed.
After you finish adding weft hair in all two methods, use a flat iron or curling iron to blend the extensions into your natural hair.
Sew-in is often preferred by professional hair stylists because it requires more techniques as well as brings higher aesthetic effects, while glue-in is preferred when users need a quick installation or short-term use. Depending on the purpose of use, we hope you will find the method that is suitable for you.
See more about weft hair extensions:
Pros and cons of methods for installing weft hair extensions
Before getting to know how to install weft hair extensions, it’s definitely essential to know about the benefits and drawbacks of installation methods. Each method to install weft hair extensions has different pros and cons, along with the required skill.
Below is a quick comparison of several important factors that you can have a look at before making a decision.
| Sew-in weaves | Glue weaves | |
| Advantages | Very natural appearance, and minimal damage to natural hair. | Time-saving and require less professional equipment.It is suitable for short-term applications. |
| Drawbacks | Time-consuming to installNeed precise and skillful specialistCannot divide hair into small sections. | Glue can be tricky to apply evenly and securely.The weft can slip off more easily as the glue can lose its stickiness after a period of time use. |
| Risks | Lower risk of damage as it uses no glue | Higher risk of damaging natural hair due to the hard glue |
| Adhesive | No | Glue |
| Skill required | It takes a great deal of skill, to make tight, even braids and secure the wefts with sewing | With more moderate skills, stylists just have to stick the weft onto a natural layer of hair. |
| Time to finish | 3-5 hours | Quicker, 2 – 4 hours |
| Durability | Last up to 4 months with proper care | Last 1-3 months |
| Reusability | It can be reused easily | It can be reused but needs cleaning up the adhesion. |
Notes for the weft hair installation
After-care is an essential task to care for your extensions. Here are things you ought to acknowledge to keep your weft hair extensions nice and shiny:
- Avoid excessive heat and reduce heat styling as much as possible as high heat can make the glue melt. If you want to dry out your hair, keep the hair dryer in cool mode and dry evenly.
- Wash your hair with sulfate-free shampoos and conditioners to make your natural hair and hair extensions remain soft and shiny.
- When brushing hair, comb from the ends upwards using a wide-tooth comb. Be gentle with your hair because pulling force from a tight-tooth comb can rip off the bonds, causing hair loss or breaking the hair strand.
These steps will give you a beautiful, natural finish. With a little proper care, your weft hair extensions will keep you looking fabulous for weeks to come. Remember that practice makes perfect, so don’t give up and keep trying to perfect your ability.
Vin Hair – One stop for all hair extension items you need
If you are new to the hair extensions world and haven’t tried Vin Hair extensions, it will be a big mistake, especially when you need high-quality hair extensions on a budget!
- Vin Hair is a reputable Vietnamese hair extension manufacturer, seller, and distributor that meets today’s high-quality standards. Their hair is known for its exceptional softness, luster, elasticity, and longevity.
- Vin Hair commits to using only raw virgin human hair that is sourced from 100% Vietnamese women, ensuring the hair is untouched by harsh chemicals to get the best quality hair extension.
- Made with care and precision, our hair extension items can last up to 3 years with the proper care of customers. Even when weft hair is attached to customers’ hair, it can definitely be replaced without any deterioration. It is truly an investment to buy hair extensions at Vin Hair!

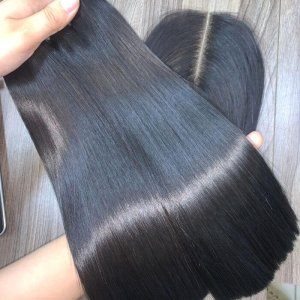
Some Weft Extensions of Vin Hair:
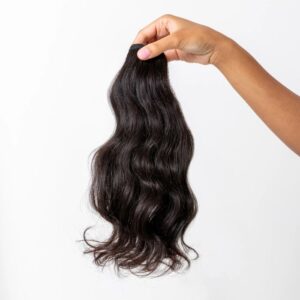
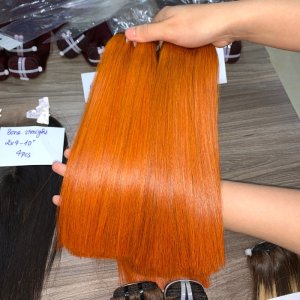


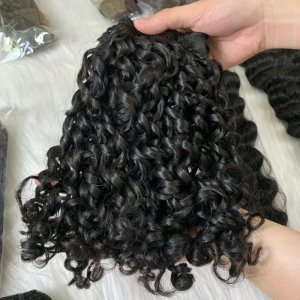
Having a 1000m2 facility along with more than 100 skillful workers who work efficiently to manufacture hair extensions, Vin Hair is where quality meets affordability.
- Our wholesale customers can get hair extensions at the price of a meal – from only $15/ bundle.
- The deal is even better when they are our loyal customers when they place large orders or on special occasions.
Don’t hesitate to contact Vin Hair now for the best purchasing experience.
Contact information:
- WhatsApp: https://wa.me/84985226782
- Email: thebesthairvendor@gmail.com
- Website: vinhairvn.com
- Instagram: vinhair.official
This guide shows you how to install weft hair extensions that will give you that stunning transformation that will enhance your styling. Enjoy your journey of mastering your hair installation and don’t forget to reach Vin Hair for the greatest deal.